Product Photography Tips: Capturing Makeup Brushes with Reflective Details
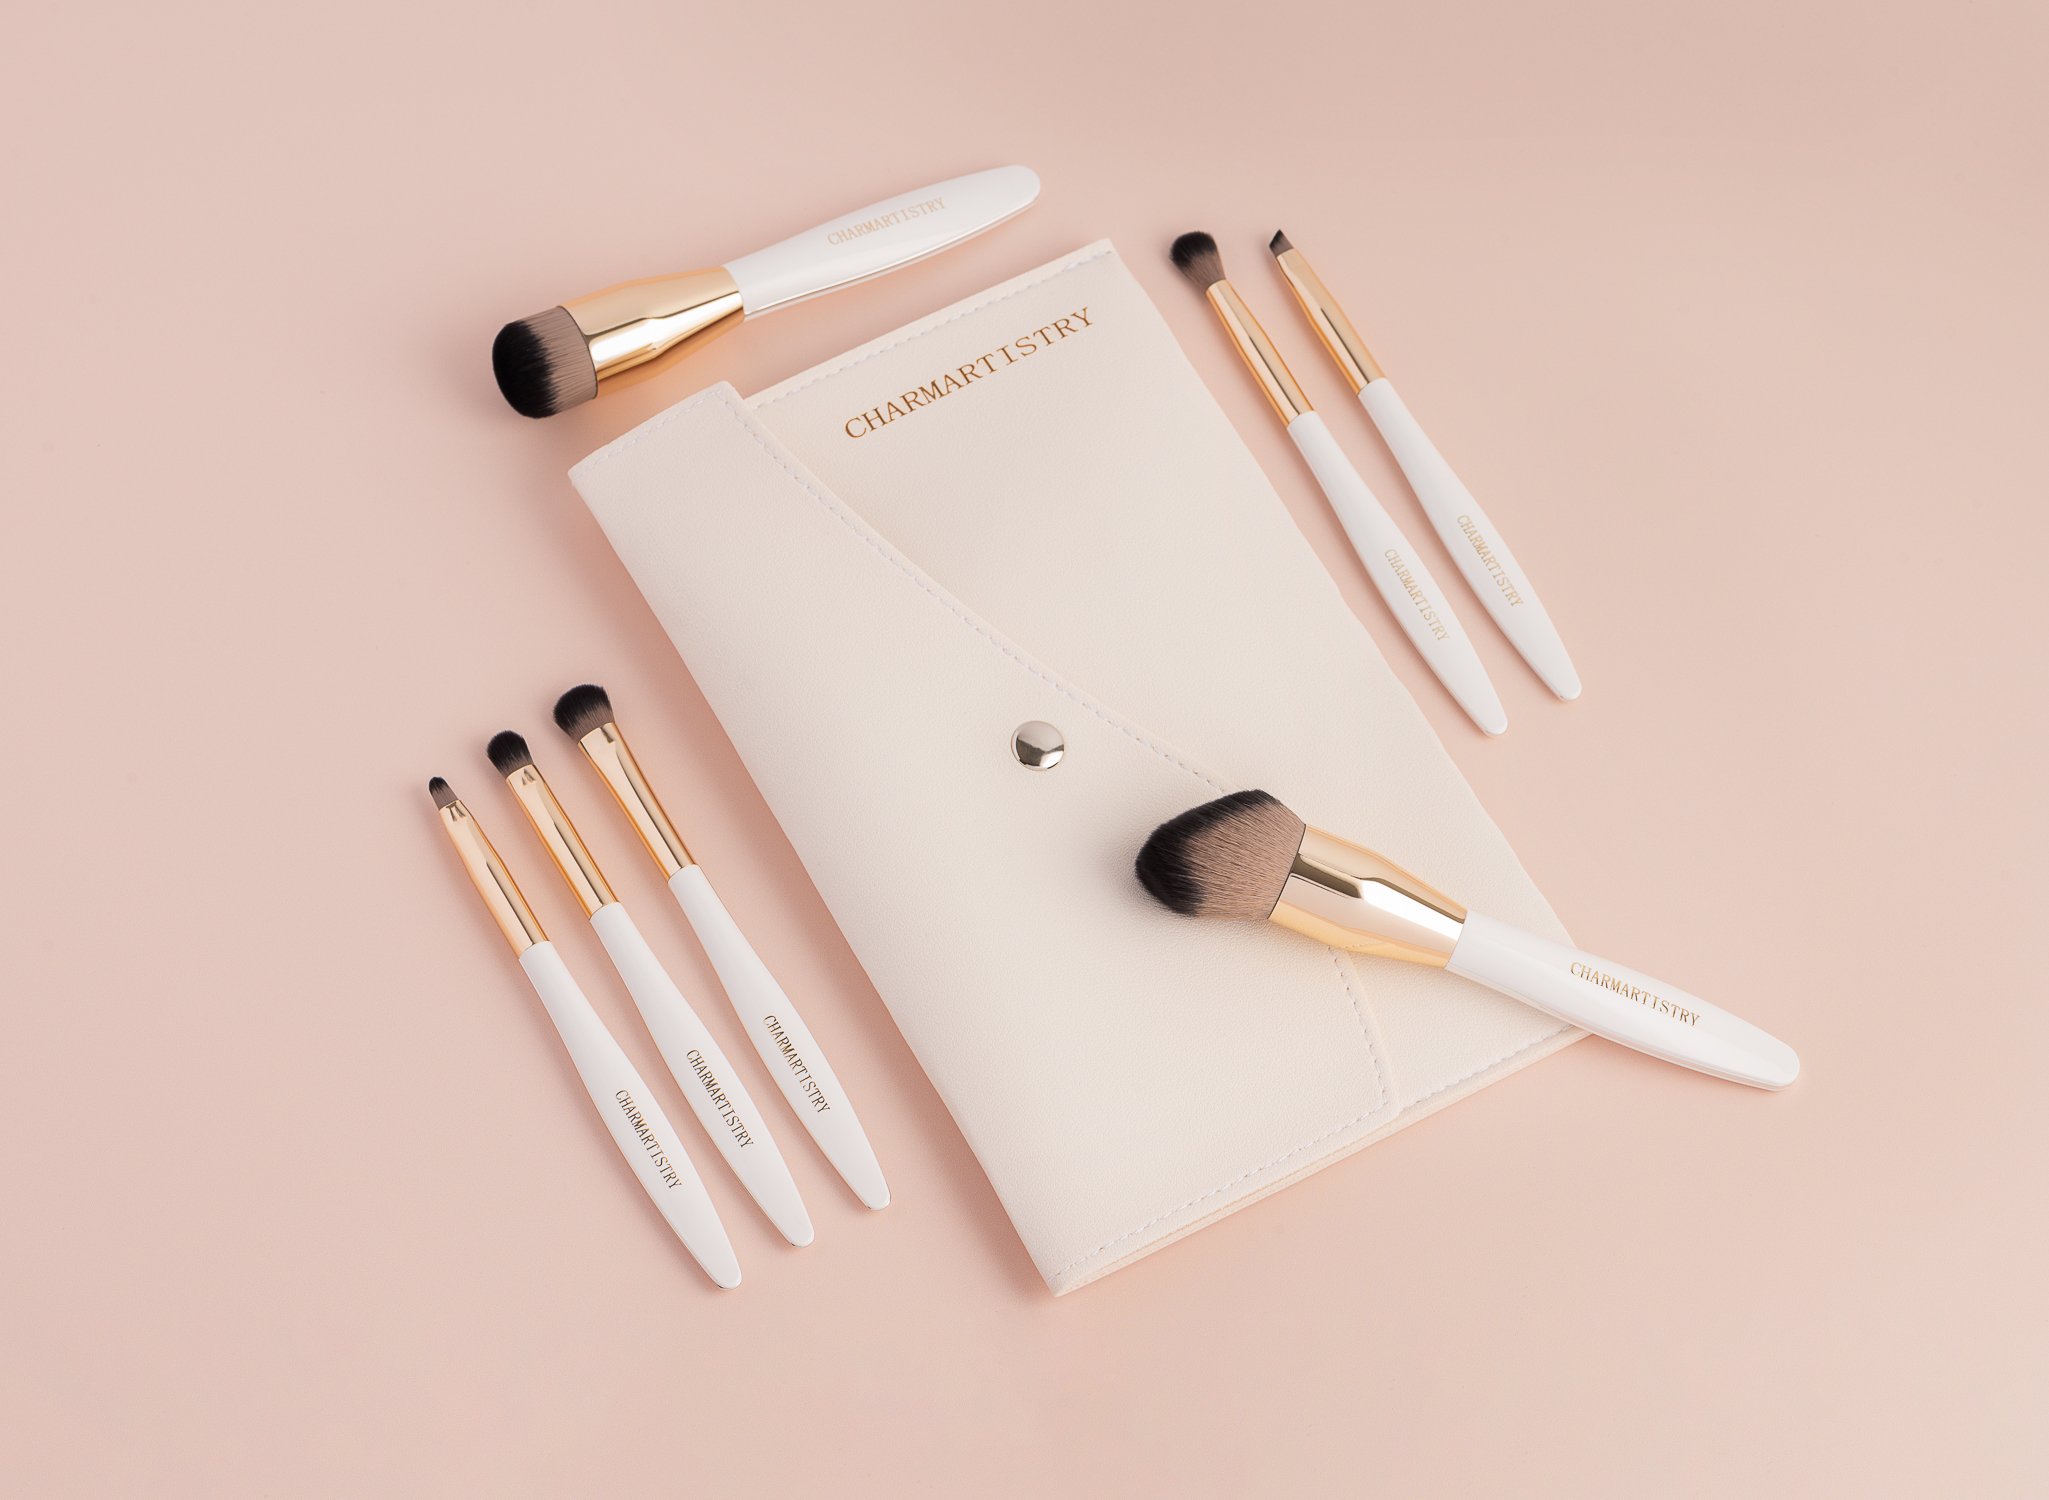
Photographing makeup brushes is more detailed than it looks—especially when they include metallic reflective elements. These parts act like mirrors, catching everything around them, including lights, your tripod, camera, and even you. In a recent home studio shoot, I focused on capturing the beauty and branding of a set of brushes while keeping those shiny surfaces clean, intentional, and distraction-free.
Here are my go-to tips for photographing products like this—where precision, cleanliness, and lighting control are everything.
1. Look Through the Lens, Not Just with Your Eyes
Product placement is all about micro-adjustments. What looks balanced to the eye can feel completely off once you're looking through the camera. I always position brushes while watching through the viewfinder or tethered screen, making small changes until the composition feels clean and intentional—especially when a logo is involved.
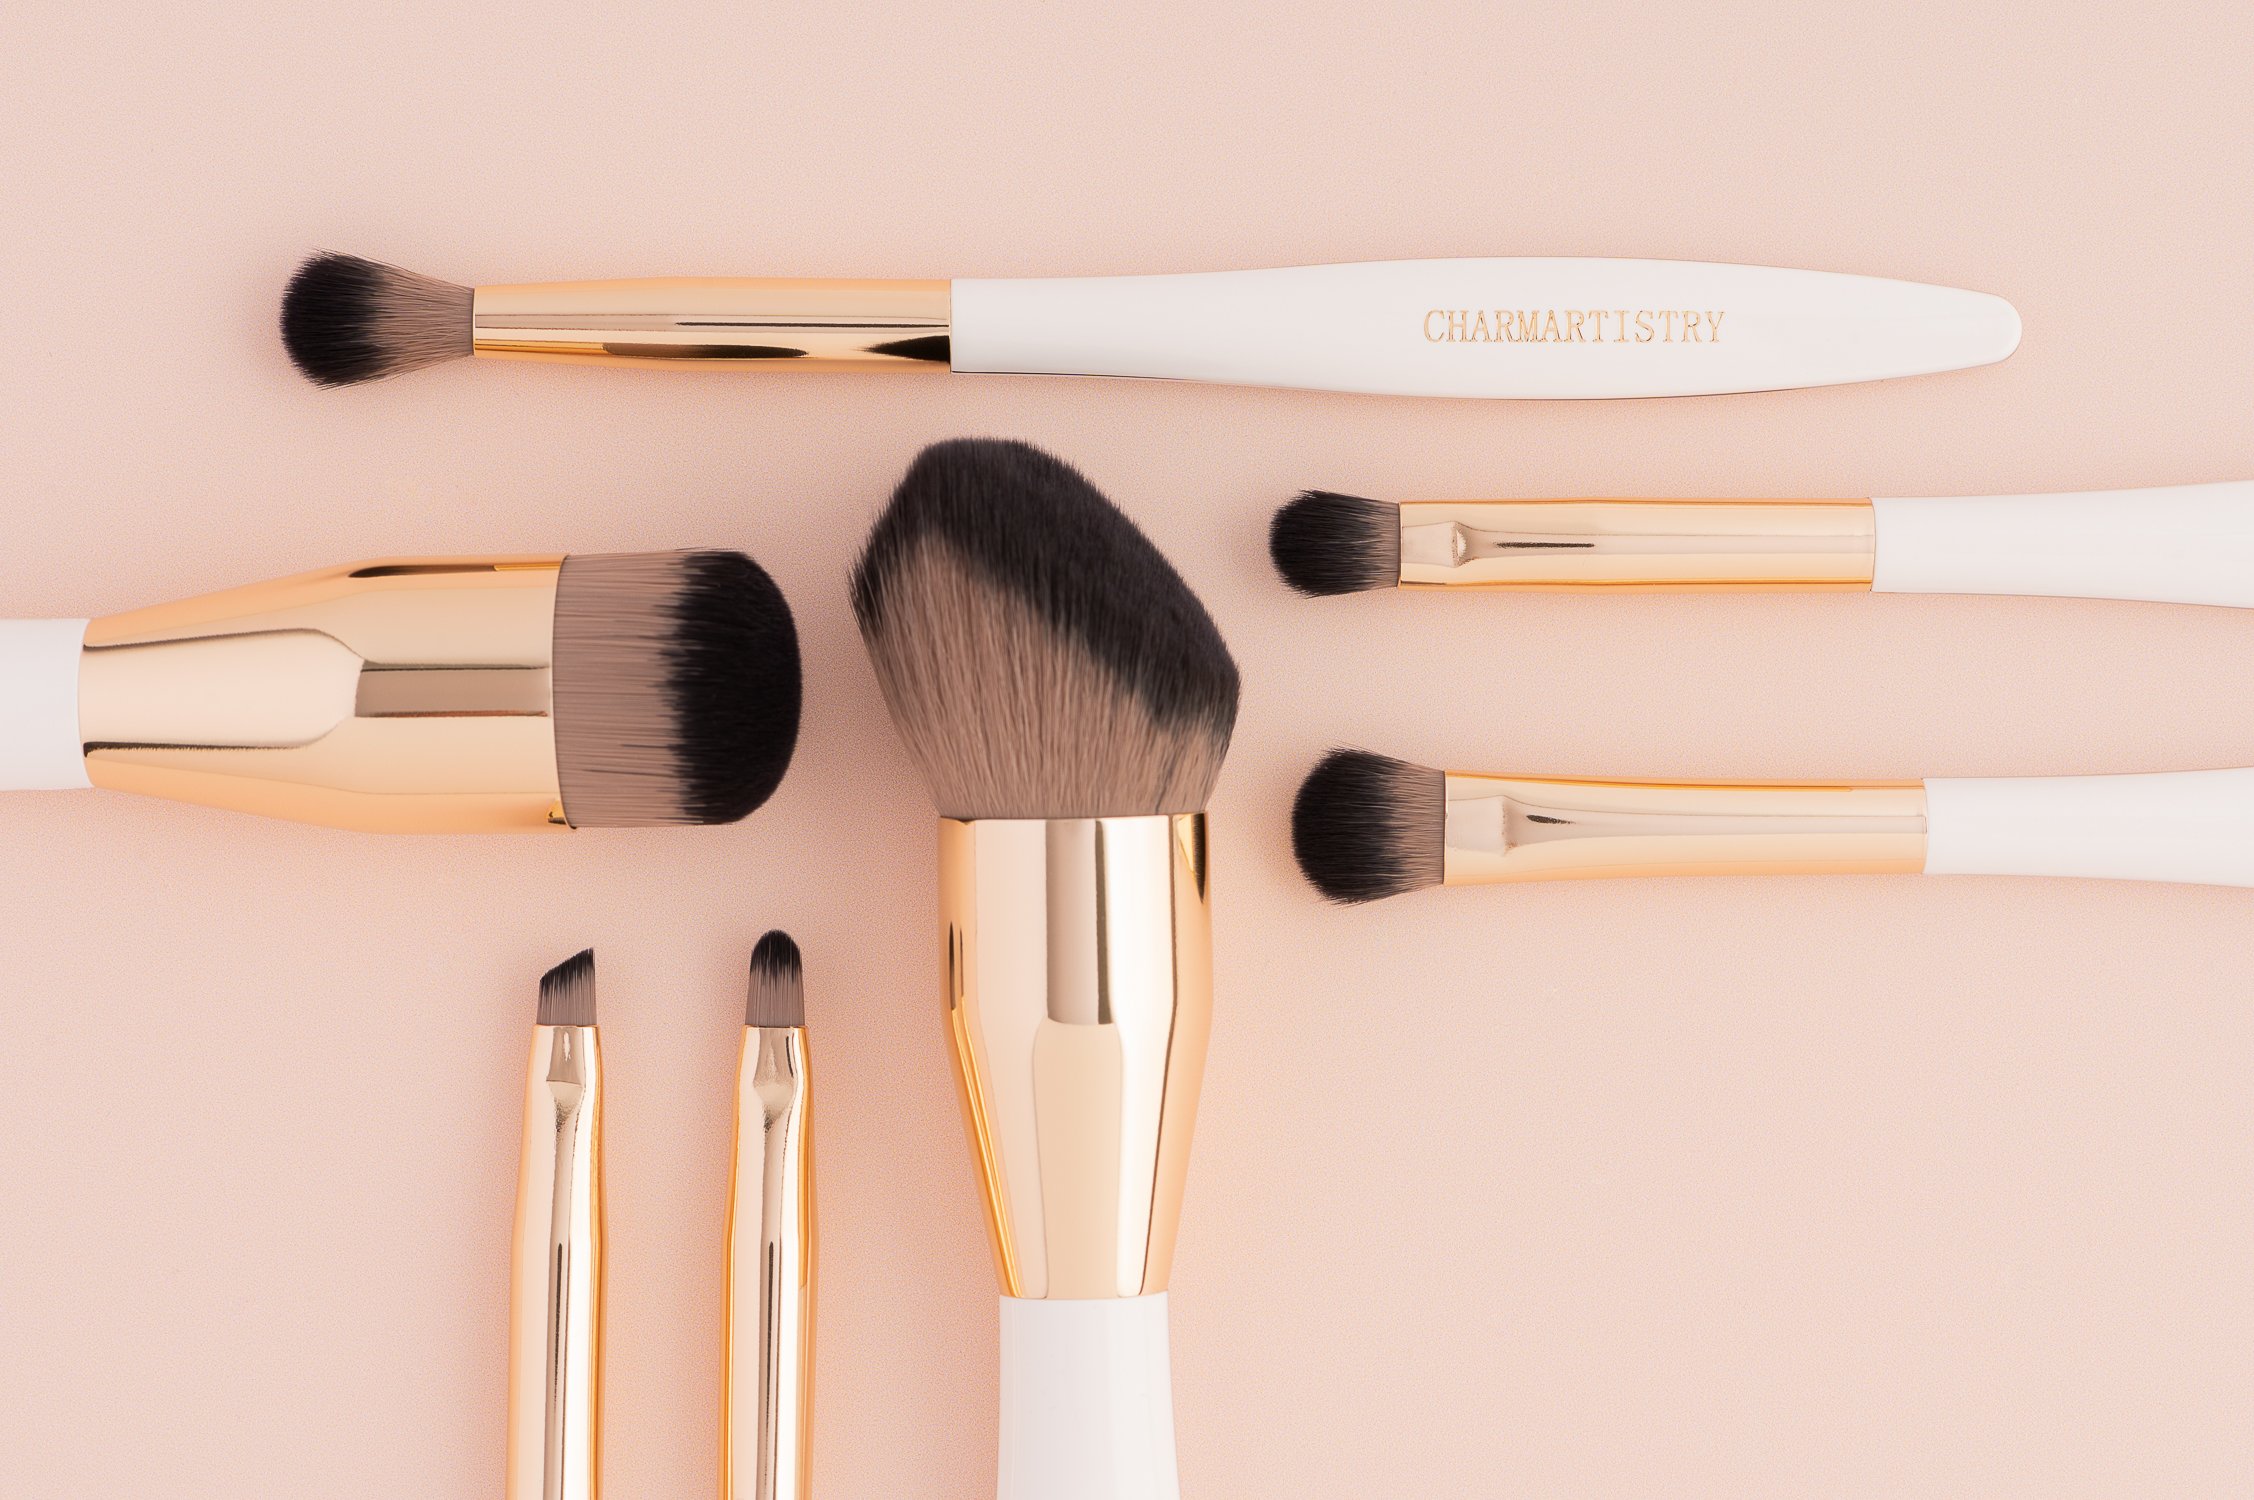
2. Use a Macro Lens for Detail and Sharpness
I used a macro lens for this shoot to highlight fine textures, like brush bristles and engraved branding. Macro lenses are perfect for product photography because they capture crisp details without distortion, allowing you to frame tightly and still tell a full visual story.
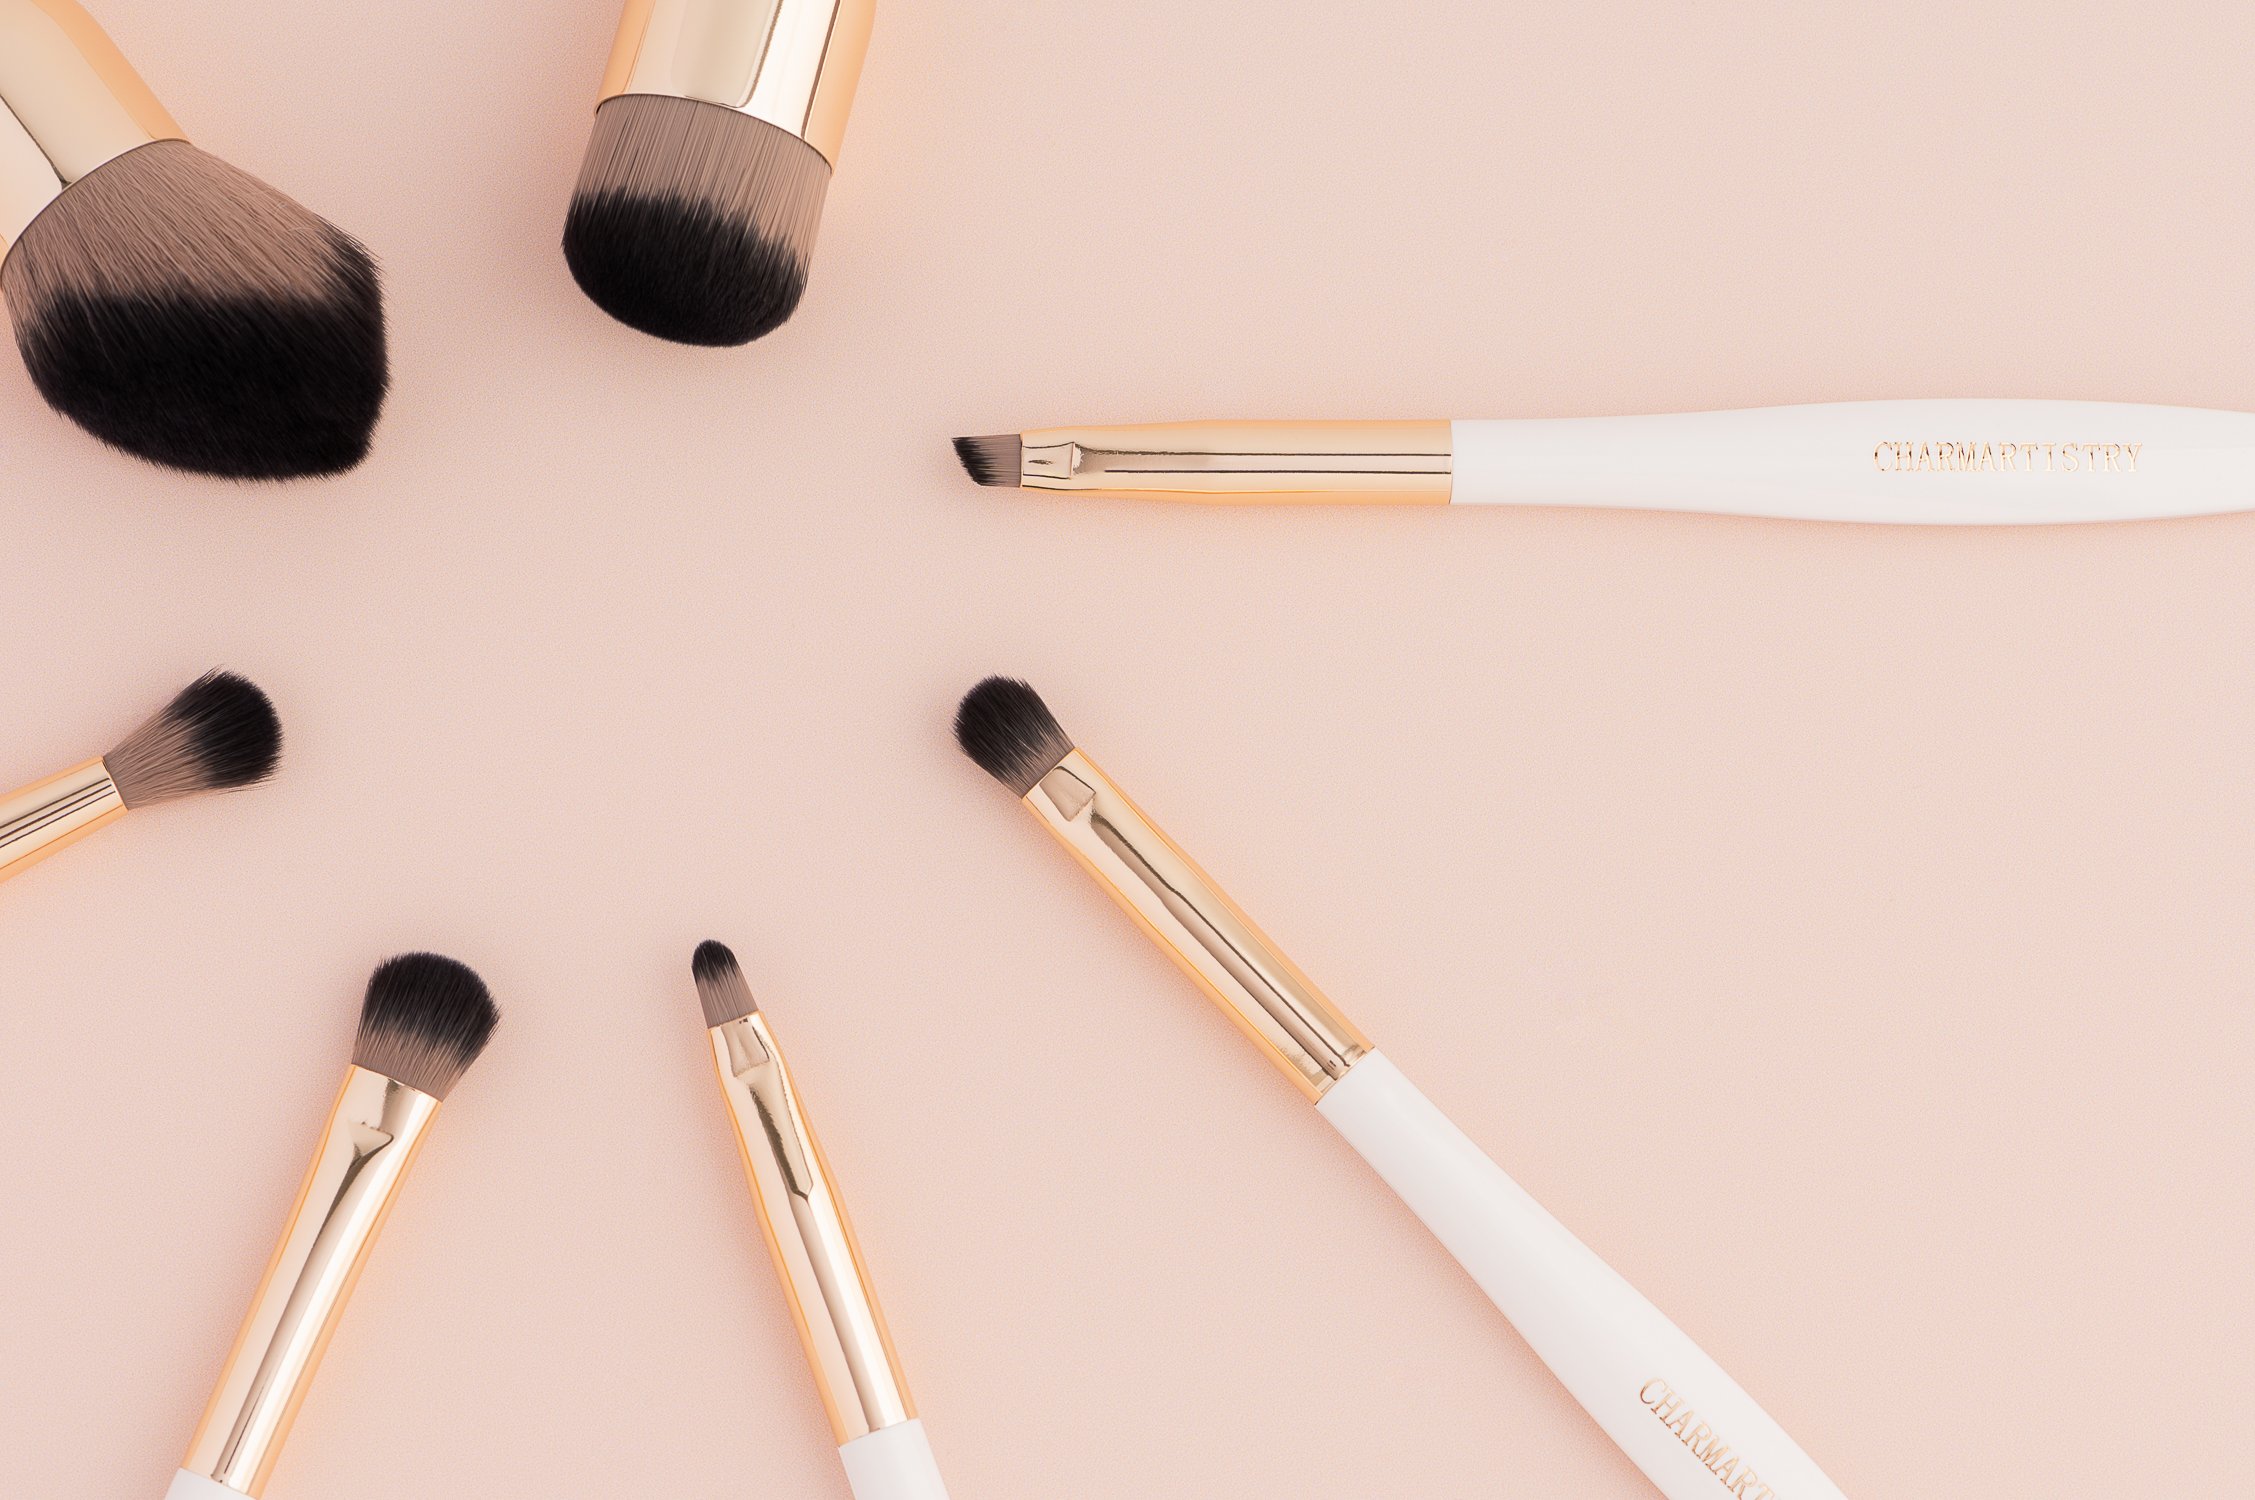
3. Reflective Brushes Require Careful Surrounding Control
The metallic tops of brushes reflect everything nearby—including your camera, tripod, light modifiers, and even your outfit. To manage this:
Wear black or dark, matte clothing to reduce reflections.
Keep your workspace clean and minimal.
Use foam boards or flags to block unwanted reflections.
Slightly angle the brushes to avoid direct reflections of the camera lens.
Take test shots and zoom in—those reflections are often more visible in-camera than in person.
4. Dust, Smudges & Fingerprints Show Up—Always
When you're shooting anything reflective, cleanliness becomes critical.
Here’s what I recommend:
Handle all products with gloves.
Use microfiber cloths between every setup to wipe down the metallic areas.
Check for dust, smears, or hair on the bristles before every shot. A quick clean-up before the shutter clicks will save you hours of retouching later.
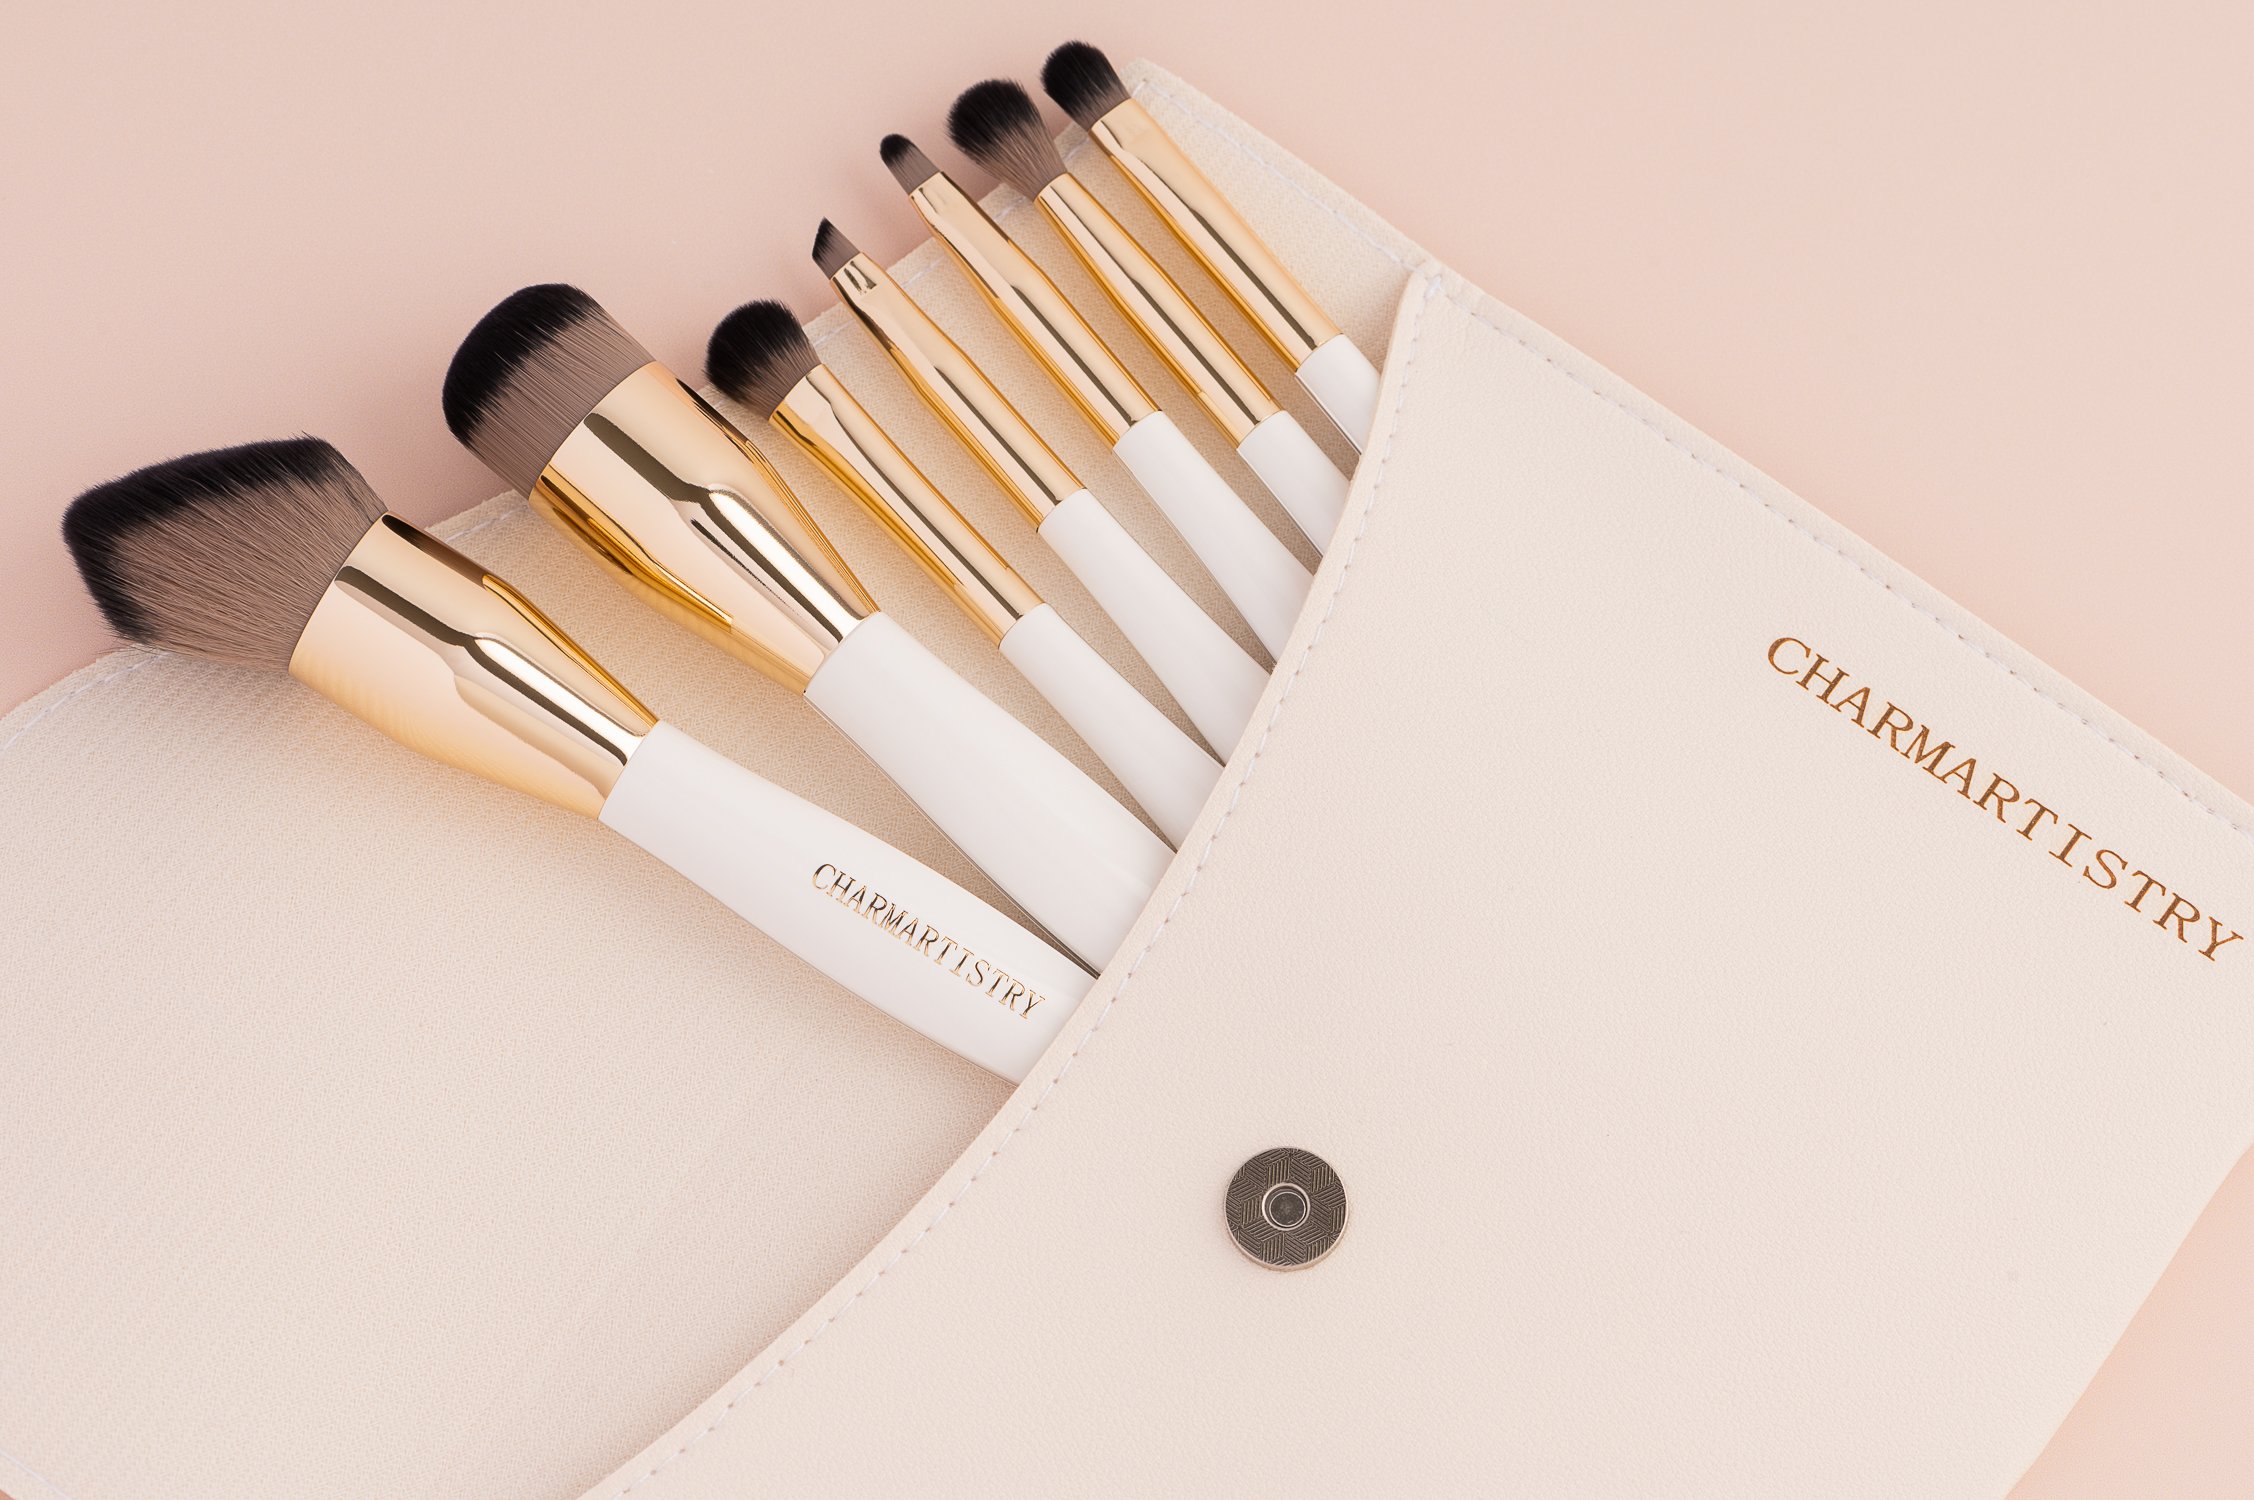
5. Watch Your Branding Placement
If the brush has a visible logo or engraved brand name, make sure it's clean, centered, and legible. You may need to rotate the brush slightly or shift your light source to avoid a reflection cutting through the text.
The goal is to showcase the product in its best form—so let the branding shine clearly and without distraction.
6. Keep the Styling Clean and Minimal
The styling should support the product, not compete with it. When working with brushes, I keep the scene minimal—clean backgrounds, soft lighting, and consistent spacing or symmetry. It helps the textures and design of the brush speak for themselves.