As much as I love shooting lipsticks, they can be tricky products to photograph. To help you navigate these challenges, I wanted to share five essential tips for creating stunning cosmetic images. Whether you’re just starting out or looking to refine your skills, these tips will help elevate your lipstick photography to the next level.

Tip 1: Handle Products with Care

Handling products with care is crucial. Lipsticks are delicate, and even the slightest dust, lint, scratches, or dents can detract from the final image. Always work in a clean environment and use tools like gloves or tweezers to avoid direct contact with the product. This ensures that the lipstick remains pristine and ready for its close-up.

Tip 2: Master the Lighting

Lighting can make or break your lipstick photos. Use soft, diffused light to minimize harsh reflections and shadows, providing even illumination across the product. This can be achieved with softboxes, diffusers, or natural light filtered through a white curtain. Highlight the texture of the lipstick by positioning your lights to create gentle highlights and shadows, emphasizing its luxurious finish. Controlling reflections is also key; use reflectors or white foam boards to bounce light and fill in shadows, and consider using polarizing filters to reduce unwanted glare.

Tip 3: Pay Attention to Composition and Background

Composition and background play a significant role in the overall impact of your photos. Choose clean, minimal backgrounds to keep the focus on the lipstick. Neutral colors like white, black, or gray work well, but you can also opt for backgrounds that complement the lipstick’s shade. Avoid busy or distracting elements that can take attention away from the product. Experiment with different angles and perspectives to find the most flattering view, and incorporate props thoughtfully to enhance the story you’re telling without overpowering the main subject.

Tip 4: Focus on Sharpness and Detail

Focusing on sharpness and detail is essential in product photography. Use a tripod to ensure stability and prevent camera shake, resulting in sharper images. Select the right aperture to achieve the desired depth of field, typically between f/8 and f/16, which works well for product photography. Manual focus provides greater control and precision, especially when capturing fine details. Use live view and zoom in on your camera’s display to ensure critical parts of the lipstick are in sharp focus.

Tip 5: Perfect Your Post-Processing

Perfect your post-processing to refine and enhance your lipstick photos. Adjust the exposure and contrast to ensure the image is balanced and the lipstick stands out. Enhance colors to make the lipstick appear more vibrant and true to life, using selective color adjustments for fine-tuning. Retouch any imperfections, such as dust, smudges, or minor scratches, using tools like the healing brush and clone stamp in Photoshop. Frequency separation techniques can also help smooth out texture issues while maintaining a natural look.

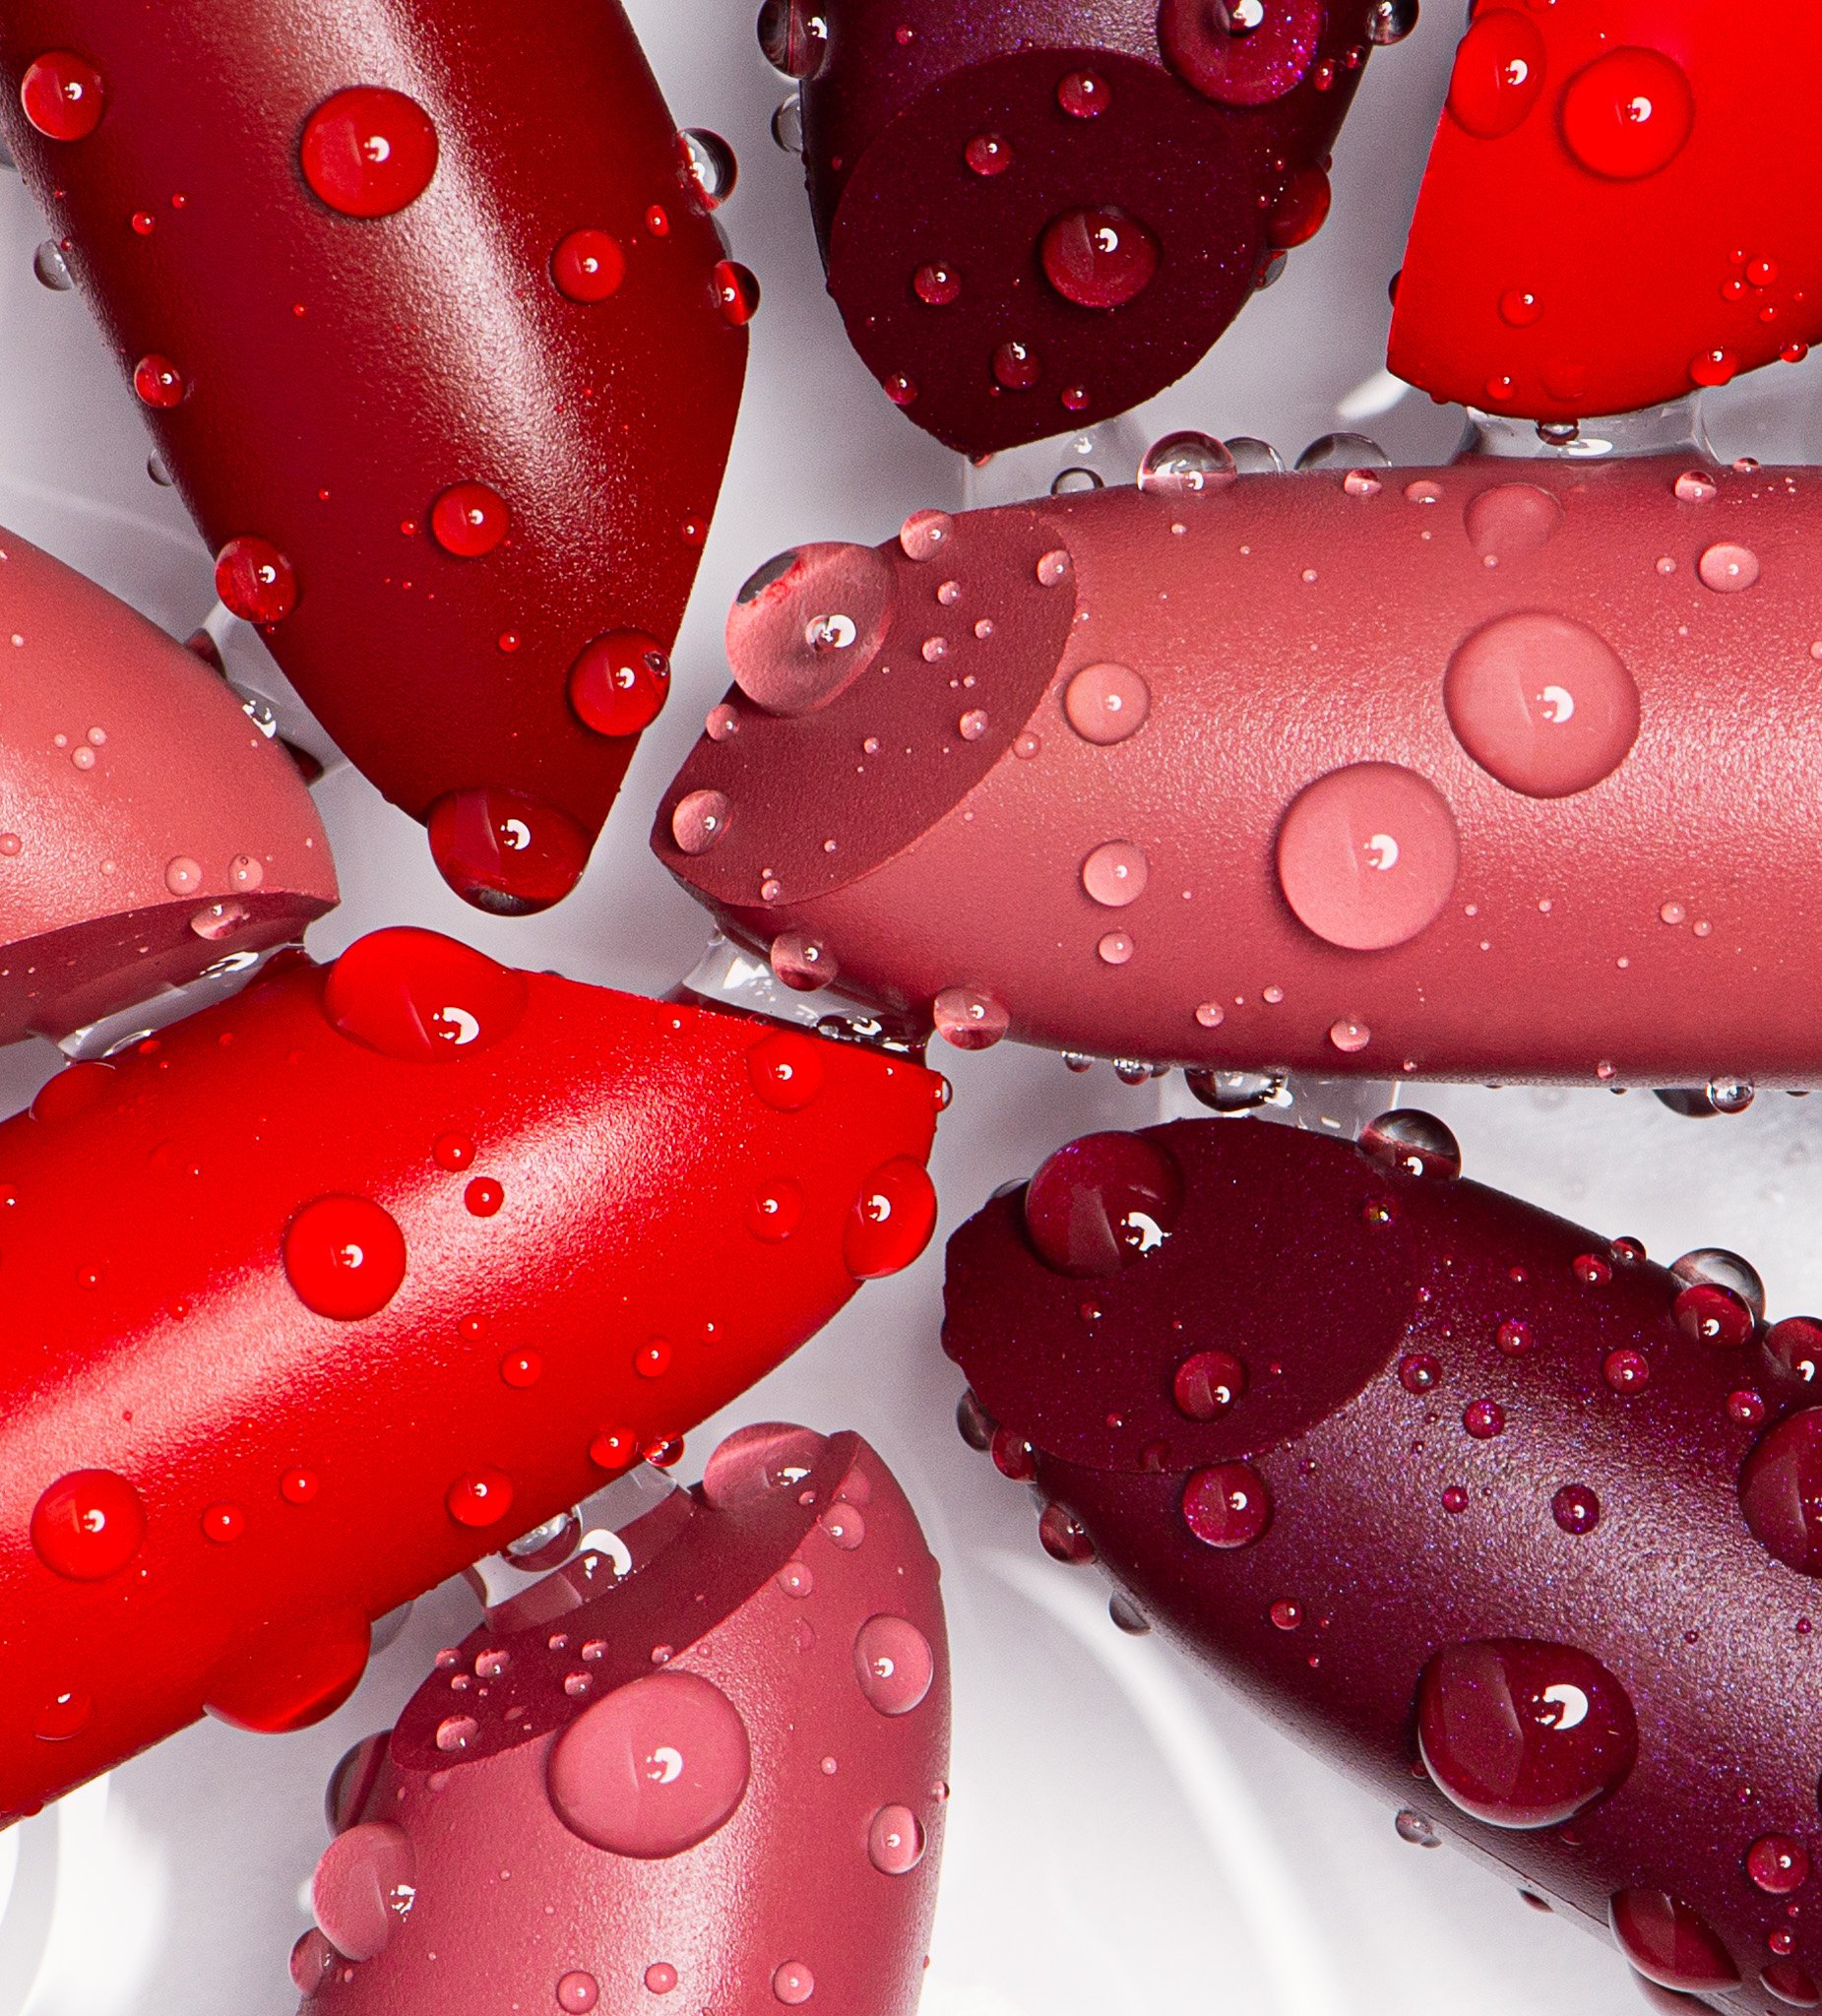
By following these five tips—handling products with care, mastering lighting, paying attention to composition and background, focusing on sharpness and detail, and perfecting your post-processing—you can create stunning lipstick photos that captivate and inspire. Remember, practice makes perfect, so keep experimenting and refining your techniques to achieve the best results.

PHOTOGRAPHER & RETOUCHER: Tasha Brown

Next
Next

The Pros and Cons of Pursuing Post-Secondary Education in Photography